Date: May 26, 2016
Can’t agree more, the best way to learn about Raspberry Pi is to build a gaming machine.
And we have successfully putting everything together tonight. Team efforts!
The Materials
- IKEA Lack Coffee Table. About SGD$12.00
- Raspberry Pi – The Computer. From Element 14 Singapore. About SGD$53.00
- The Joy stick and buttons & USB board. From Amazon. About USD$36.00 ~= SGD$50.00
- ARCTIC S111 USB powered PC Speaker. From Amazon. About USD$21.00 ~= SGD$29.00
- Used Acer 17″ LCD Monitor. From Carousell. About SGD$40.00
- Cables, connectors (comes with the joystick and buttons).
- HDMI to VGA Dongle. From Best Denki. About SGD$39.90
- Lots of power tools. Screws, drills, saws, etc.
So, that’s it. SGD$224, and you can build yourself a gaming machine.
How’s it Begin
First, you need to get everything to work in the prototype stage.
My inspiration came from this place. (see below Retro Gaming Table using IKEA LACK Coffee Table).
But not every thing works. I tried to use Leonardo, but failed. Somehow, the Raspberry could not talk to the joystick using Leonardo in the middle. So, I will do more research on this.
So, I did some research and try this USB C Board. And it works perfectly. RetroPie is able to recognise it as a game pad.
You quickly wired up the whole thing to see everything works or not?
And of course it works.
Yesterday, I bought this second hand Acer 17″ LCD monitor. And it works perfectly.
But I need this HDMI to VGA dongle to get it to work.
The recommended speakers.
And that’s it. We have almost everything to build the gaming table.
The Software
We are using a software called RetroPie. Google on the web it will tell you where to download and how to install. It is very easy.
I loaded Gameboy, Gameboy Advanced, Sega, NES, SNES, PC engines, etc.
And you have to go figure out how to download the game roms. There are every where. Just google. Download it, and then copy into the respective roms directory, and the game emulators on RetroPie will be able to run these games.
I know you miss playing these games. (For friends of similar age)
Before there are iPhone or iPad, we used to go Arcade center quite often to play.
And they are many more.
How’s Its Made
Of course you use your free child labour to do the work.
As long as it is not dangerous, Jay will be the one do it.
Remove the plastic casing for the Ace Monitor. Separate the control too.
Unscrew every single screw.
The bare naked Acer 17″ monitor will give you a 4:3 ratio that is quite close to a square. Which is perfect for these Retro games.
Next you need to drill holes. Let’s find out what is inside an IKEA LACK coffee table.
If you cut the hole perfectly, i.e. 36cm and 30cm. The monitor will fit in nicely. As it is about the same height.
Draw lines and circuits to indicate where you want to drill the hole.
Don’t forget to use masking tape to protect the surrounding.
We used a power saw to saw it. But it is ugly.
So, we end up using the hammer and the tool to cut it open the slow way.
But it will gives the best cutting.
Now we drill hole that is precisely 28mm. Cool!
And the hole is just perfect 28mm for the buttons.
Jay is sure working very hard.
Don’t forget to vacuum the floor constantly.
Wow. This is IKEA table. It is card board. Using honey bee home structures.
All my holes are ready.
Now we drill hole for SELECT and START buttons.
You need an access panel below too. So I quickly open up a hole.
OK Jay. Screw in the buttons.
Now installing the joystick. Remove the metal plate. Draw the screw holes.
And done!
Slowly connect all the wires.
And we hang the two speakers like this. Below. And it is going to be loud. Nice!
The two speakers really looks cool.
OK. I found a Smart Pi casing. Let’s put Raspberry Pi here. And we screw it under the table.
Have to tidy up the cabling. Cable management.
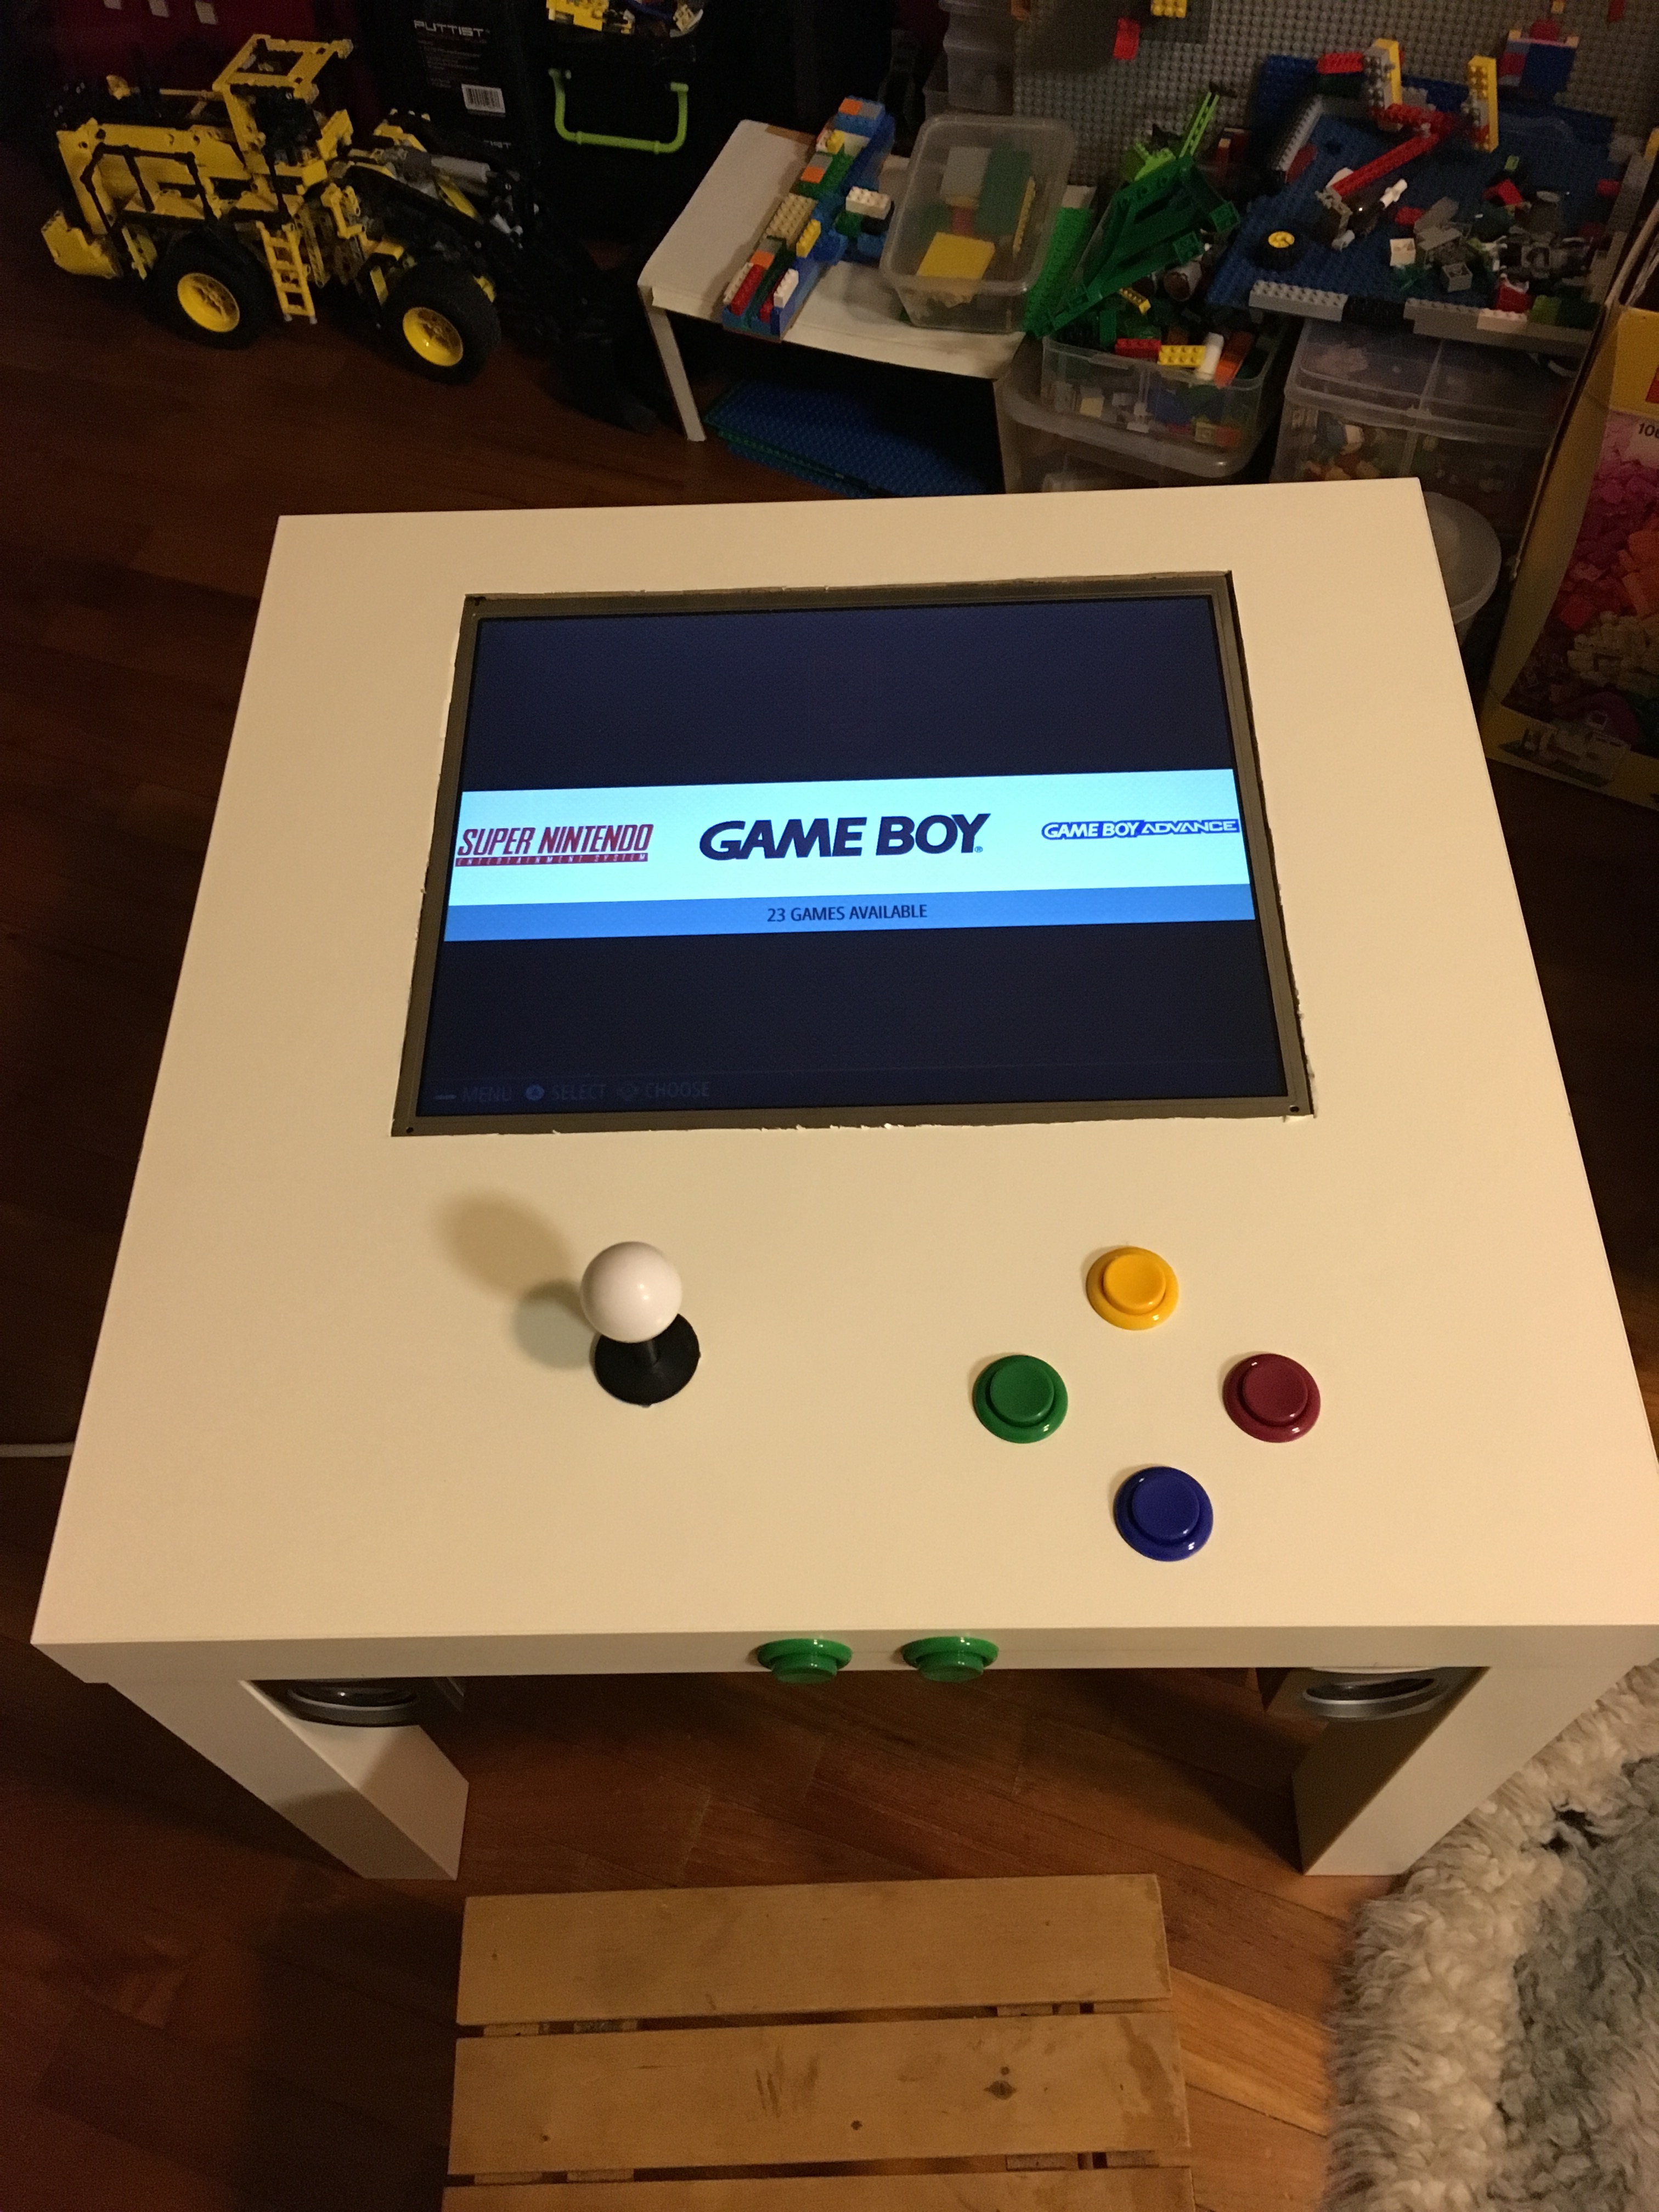
And here you go. This is my Retro Gaming Table.
Let’s play some games.
It looks very cool.
Let’s play some Game Boy games. Cool.
Let’s play some Space Invader game. The sound is just perfect.
The feel of joysticks and press of buttons. Wow! I feel like I am young again!
Take a look at the power cable. Very neat too. hahaha
Thanks Jay Jay for free child labor.
Thanks Boon for the handy man works. She is the one who drills the holes. hahahaha
We are so proud of our Retro Gaming Table.
If we can build it, I think you can also. 🙂
And Sim Lim Tower should have all the parts you need.

